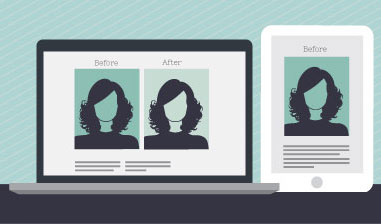
The following information is a step by step guide for creating uniform before and after photos in Photoshop.
- Open Photoshop.
- In menu, go under file/new. This will create a new document you will use as a template.
Add in your size. For web, you can make the dpi 72 and the color RGB. Create the file. - Open your before image. Drag and drop the image into your blank template. You do this by using the cursor or arrow key at the top of your tool bar. Make sure your layers palette is open in your before image. To toggle between documents you must simply click somewhere within the document to select that file.
- Click on that layer and hold down the mouse and drag the layer over to your new document. It won’t be the right size so you will have to transform it, or resize it proportionally. You do this by going into your menu under Edit/Transform. When you do this make sure the before image you have dragged into your document is the layer you have selected in your layers palette.
- Once you click the Transform option it will create what is called a bounding box around the image. You must then drag one corner of the bounding box while holding down the shift key to keep it proportional. If you do not hold down the shift key it will not be correct. Once you have it framed within the document to your liking, you can hit the return key and it will take a moment to re-size the image. You can never get out of the transform tool without hitting return. That releases the bounding box. If you don’t like how you resized it, go to Window/History. This will bring up the history palette and allow you to click back through your different tasks until you undo the transform. Keep this open as you will use it a lot.
- Once you have the image how you like it, where it shows the patient how you like, you can then save the file and name it. Save it with the patient‘s name, or procedure, before and whatever else you use as a standard for your before and afters. Save it as a jpg.
- Once you do this, open your after picture. You then do the same thing, drag and drop it by holding down the mouse into your before picture. Once you release the mouse, it will create it’s own layer within the file.
- You can choose to name the layers if you like. You will have to transform the layer also to get it the same size as the other. I would suggest leaving this one a little larger so you can accurately resize it within the frame. In order to match them up, so let’s say, if it’s a breast aug, the shoulders are the same height, you can go into your layers palette and reduce the opacity of the after image to say 50% so you can see the outline of that image over the top of the before image.
- Use your mouse on the cursor or arrow tool to move the image around until you get it to where it matches. You can use your edit/transform tool to resize it so it matches up as closely as possible. Once you have it where you like it, turn the opacity back up to 100%.
- Then use the layers palette to turn off the before picture by clicking on the little eye icon on the left of the layers palette for that particular layer.
- Then you go to the small arrow at the top of your layers palette on the right, directly across from the word layers, click and hold down and it will bring up a dropdown menu that will allow you to flatten the image.
- Save the image with the same name as the before only use the word after so these are clearly a matching set.For instance, if your before is labeled, Rhino_Harris_Before001.jpg, call the after “Rhino_Harris_After002.jpg. Since you will have more than one view, you can label the subsequent files with numbers to identify they belong to the same set, just a different view.
To download a psd template for use in Photoshop, please click here: Photoshop Before & After Crop Templates


